Collapsible menus, also known as hamburger menus, flyout menus, or filtering menus, are essential for optimizing screen space in applications. These menus help declutter the interface by keeping options hidden until needed, improving usability and navigation.
Why Use Collapsible Menus?
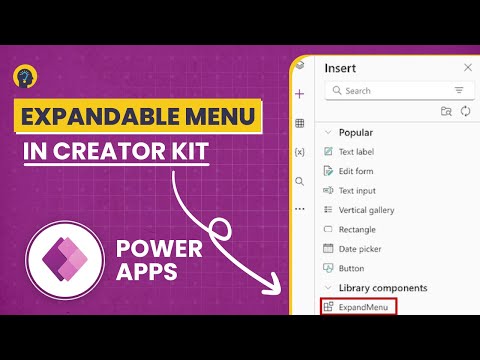
In Power Apps Canvas Apps, collapsible menus are not built-in features, meaning you have to create them manually. Fortunately, with layout containers and a Timer control, you can build smooth, animated menus without much effort.
Building a Collapsible Menu in Power Apps
Follow these steps to create a collapsible menu:
- Add a container – Place all controls or buttons inside it.
- Insert an icon – Use an icon to represent the menu and change its color based on visibility.
- Use a context variable for toggling visibility:
- Set the OnSelect property of the icon to:
UpdateContext({varShowMenu: Not(varShowMenu)}) - Set the Visible property of the container to
varShowMenu.
- Set the OnSelect property of the icon to:
Adding Animation to Your Menu
For a more polished experience, integrate animation using a Timer control:
- Add a Timer control (named
Timer1). - Set properties:
- Duration:
500(for a half-second animation). - Reset:
Not(varShowMenu) - Start:
varShowMenu
- Duration:
- Modify the container’s height:
- Suppose the container’s height is
200, change it to:200 * Timer1.Value/Timer1.Duration
- Suppose the container’s height is
Now, when users click the icon, the menu smoothly expands and collapses.
Video Walkthrough
For a step-by-step demonstration, check out this tutorial: Power Apps Hamburger Menus. It covers building a flyout menu and adding a visual indicator for filtered data.
Practical Use Cases
Collapsible menus can enhance various Power Apps applications, including:
- Dashboard Navigation – Quick access to sections like sales data, customer information, or inventory management.
- Task Management – Filtering and sorting tasks by priority, due date, or project.
- Document Management – Easy access to document categories, recent files, and favorites.
- Employee Directory – Searching employees by department, location, or job title.
- Event Management – Managing event details, guest lists, and task assignments.
- E-commerce – Displaying product categories, shopping cart, and user account details.
- Learning Management System (LMS) – Providing course catalogs, progress tracking, and user profiles.
- Customer Relationship Management (CRM) – Accessing leads, contacts, and sales opportunities.
- Expense Tracking – Organizing expenses, reports, and account settings.
- Social Networking – Managing profiles, friend lists, and notifications.
With this knowledge, you can create customizable and user-friendly collapsible menus in Power Apps, improving navigation and enhancing the user experience. Try it out and elevate your Power Apps interface today!